Grow Sprouts and Microgreens for Fresh Food in Winter
Buying produce in winter is iffy. Prices can be high and quality low. Storms and freezing temperatures can decimate a crop, further raising prices. Some of your favorite foods may not even be available in an especially bad winter. By growing sprouts and microgreens at home, you can have fresh, raw, nutrient dense food inexpensively. We plant gardens for good food in summer. Why not in winter? Sprouts and Microgreens Are Not the Same
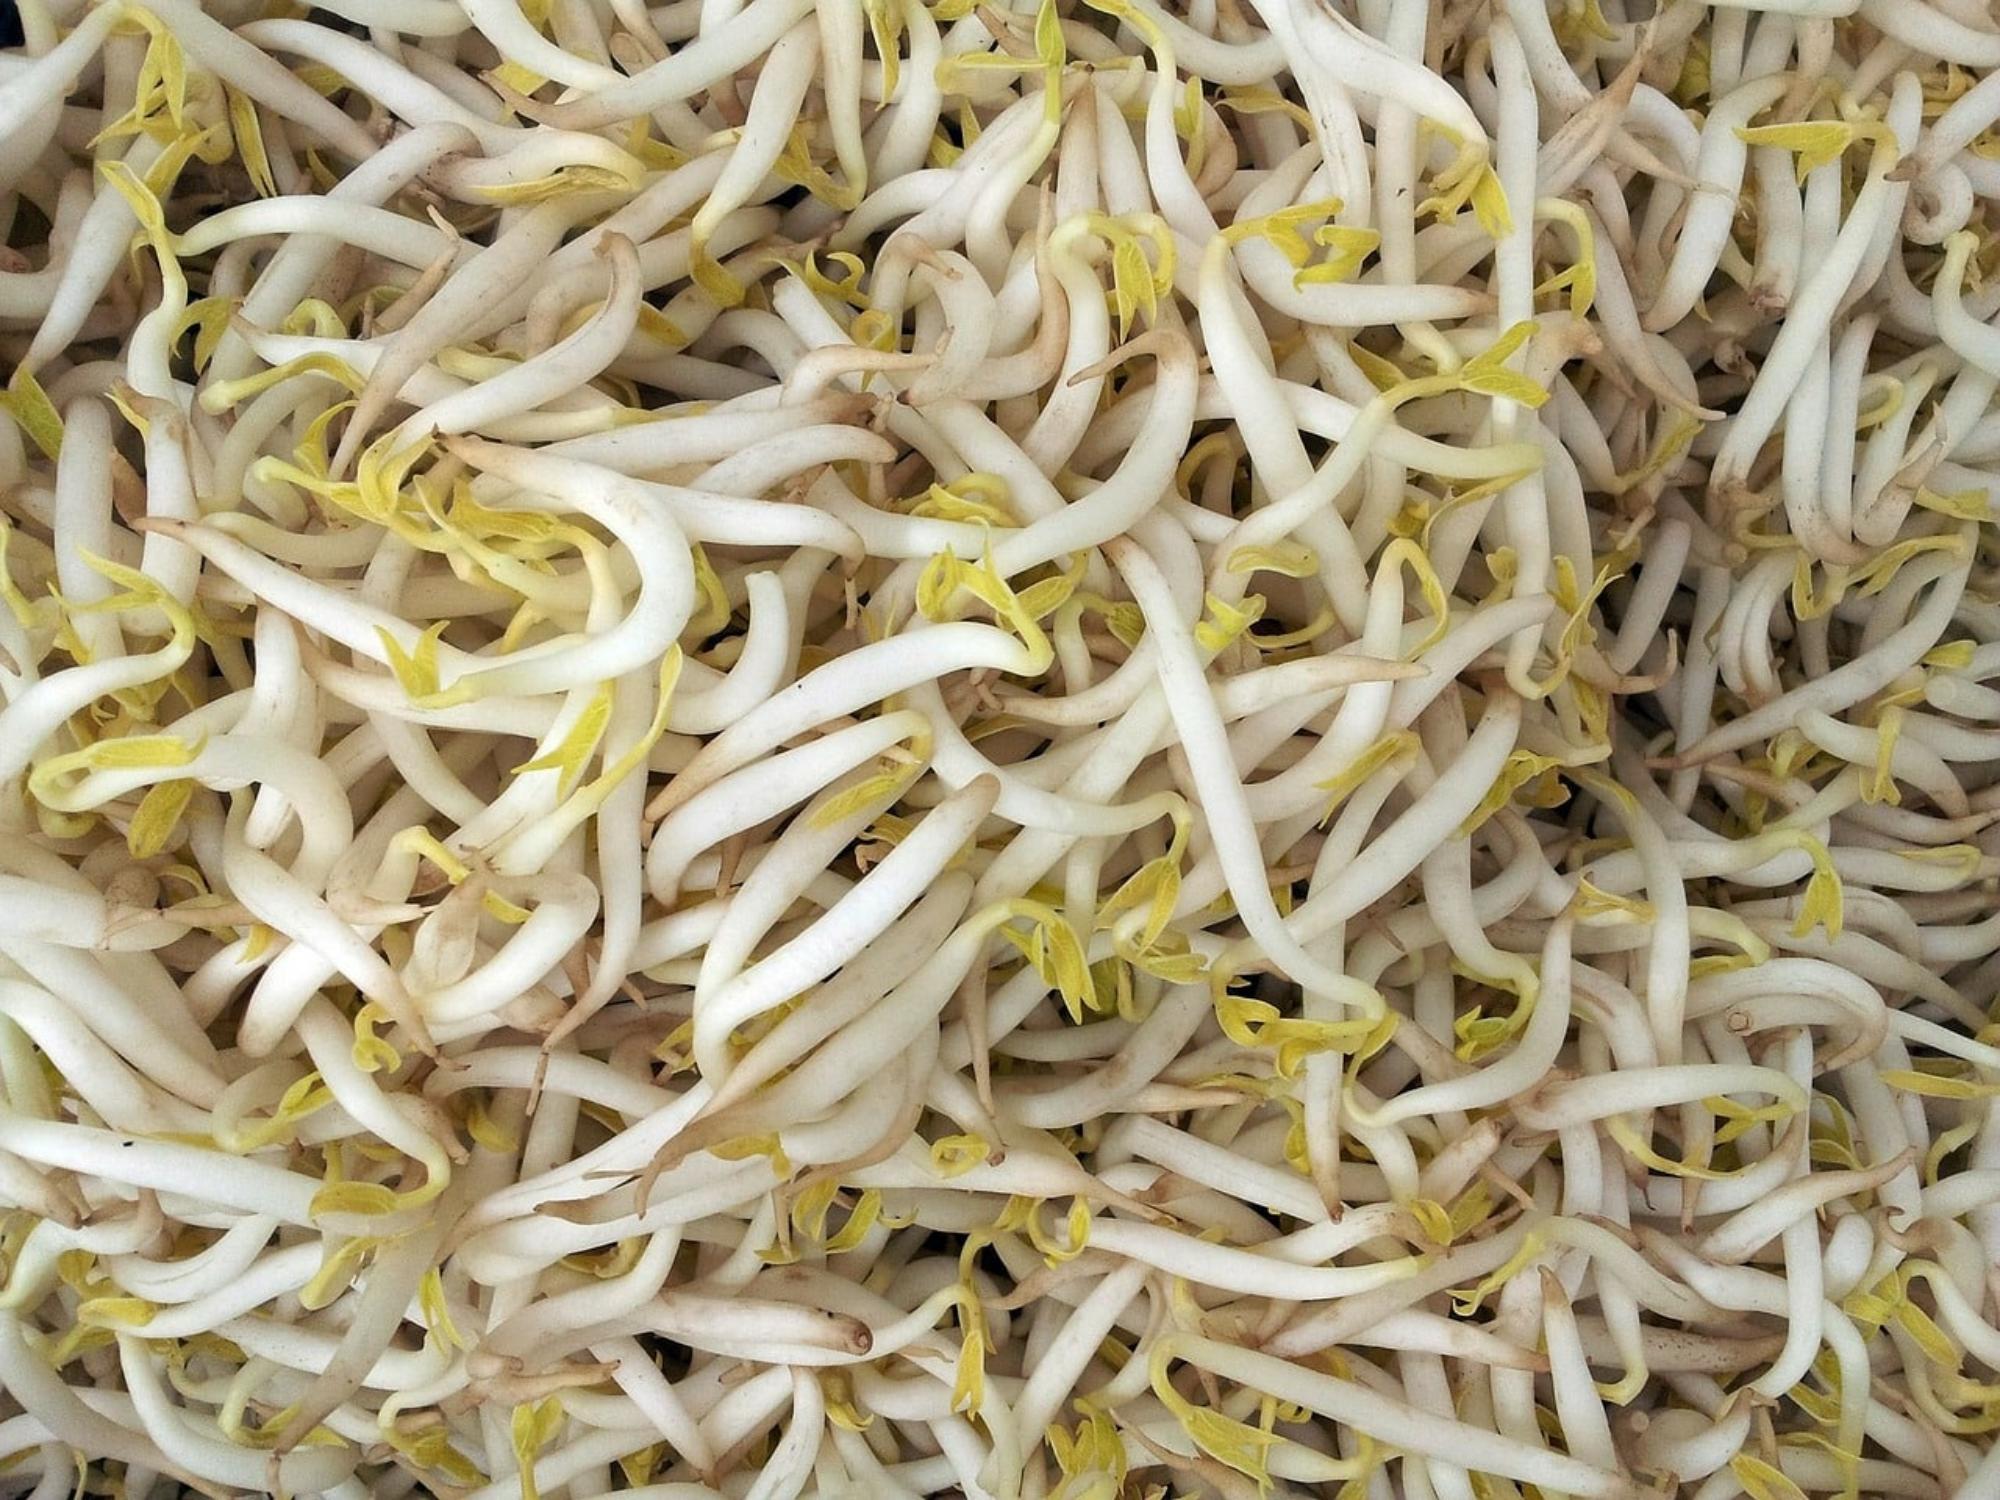 Sprouts have been popular since the health-conscious 60s. I’d venture to say alfalfa seed was first used for sprouts, and with experimentation, radish and clover came along next. But of course, bean sprouts have always been a staple in Asian cuisine! These days, we sprout broccoli, sunflower, clover, peas, and kale. You can make your own combinations, or buy ready made mixes. You don’t need fancy equipment to grow sprouts. A wide-mouth jar covered with cheesecloth is the most basic set up. You can buy lids with different size holes in them for the various size seeds. Steps:
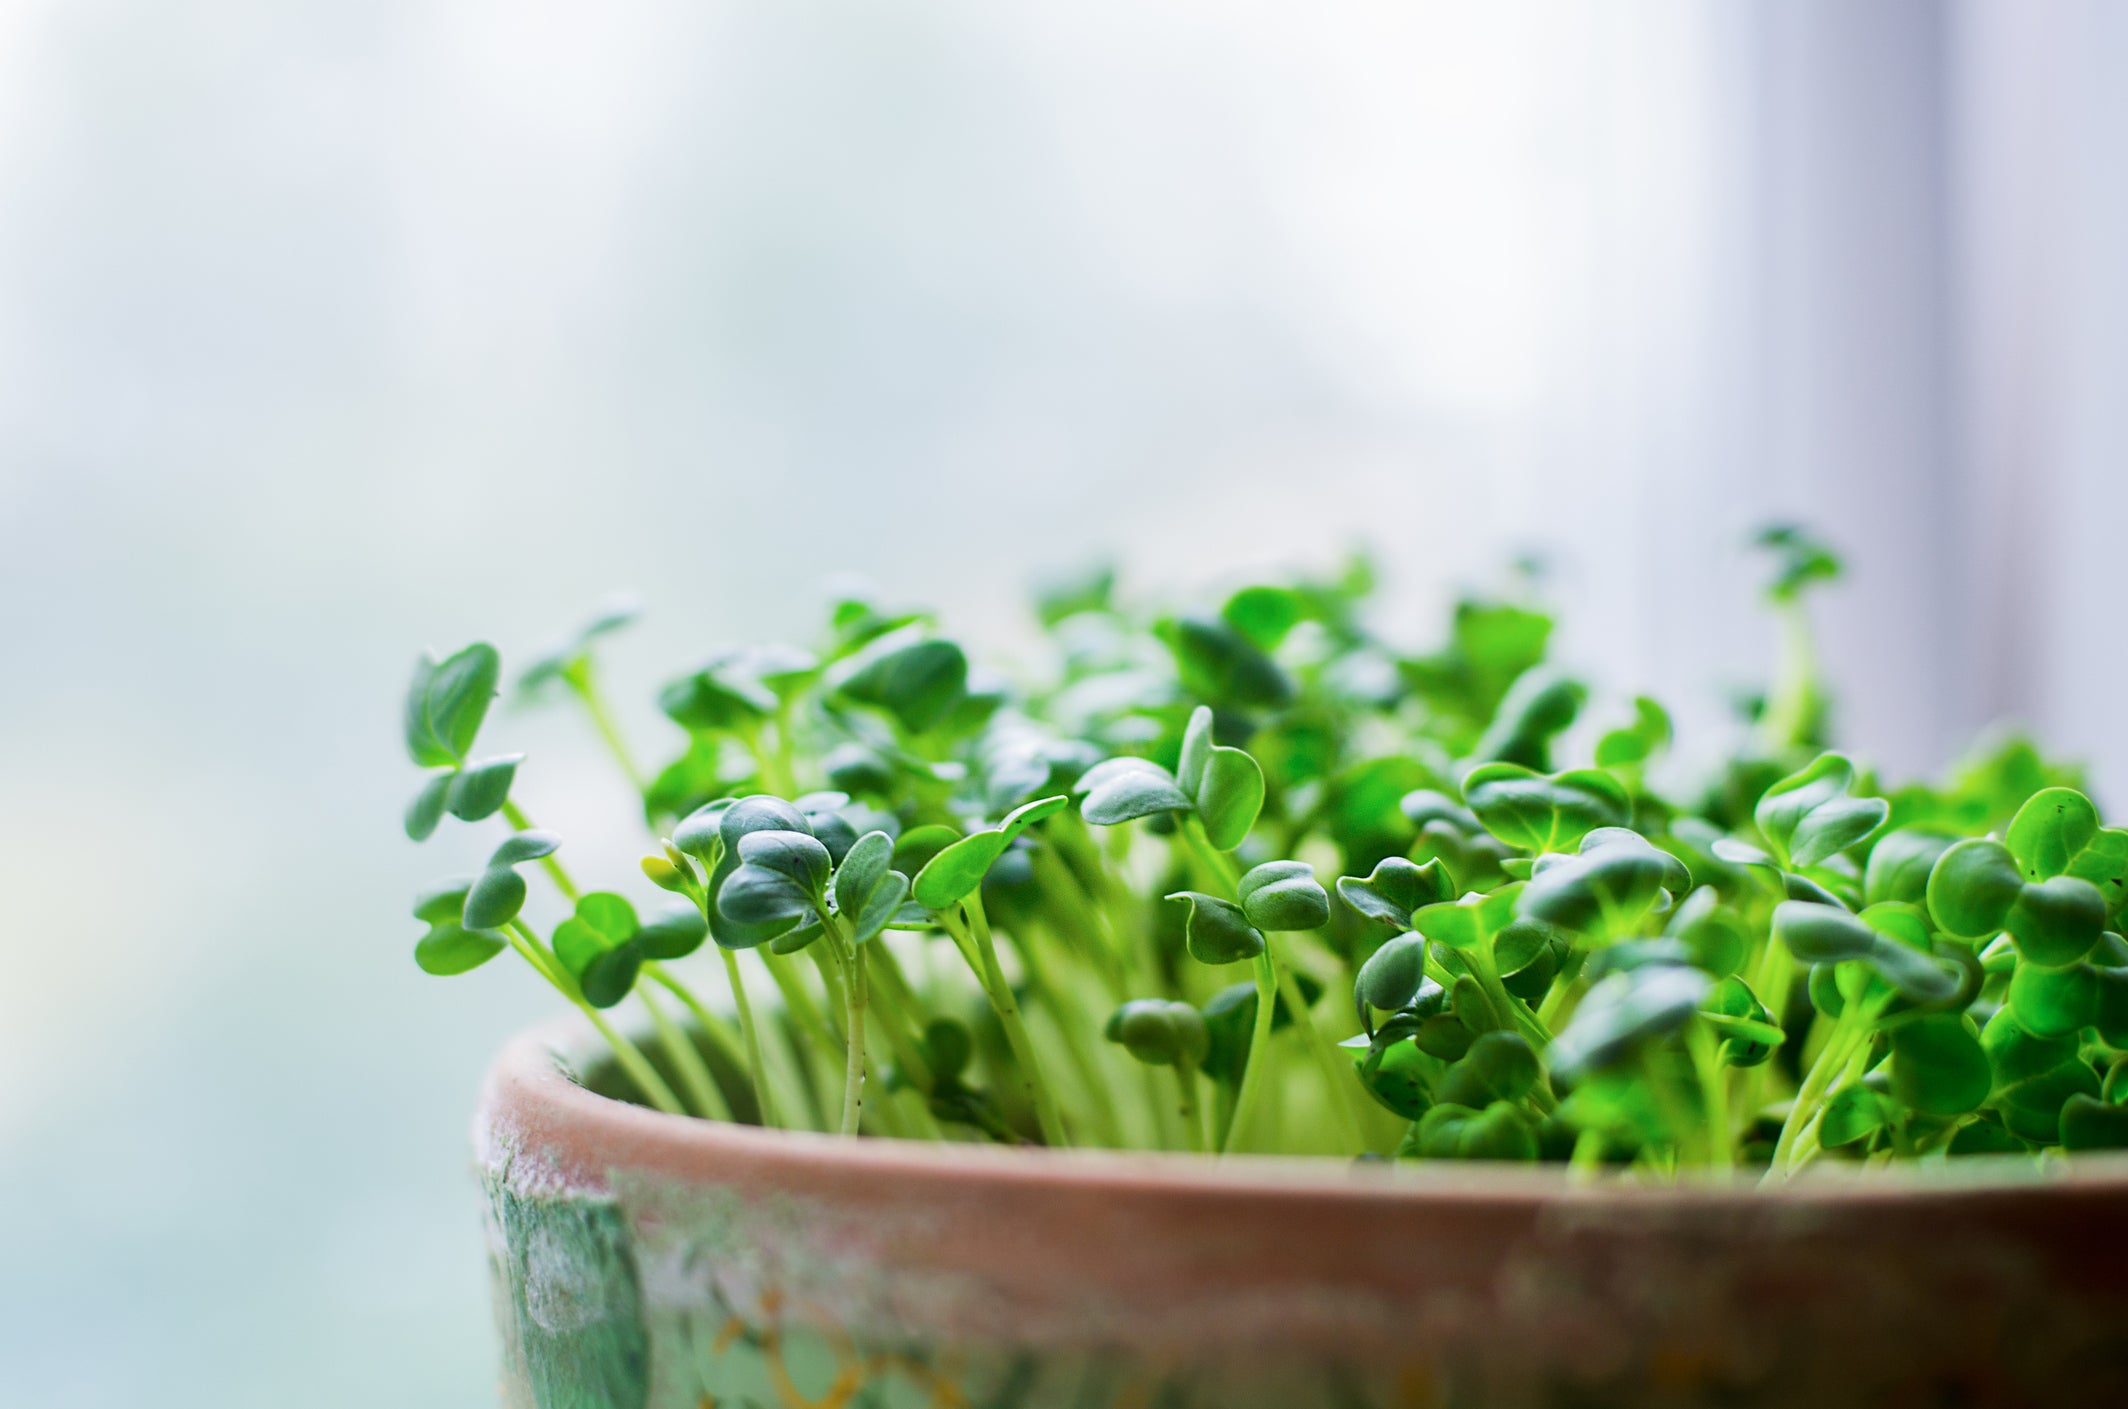
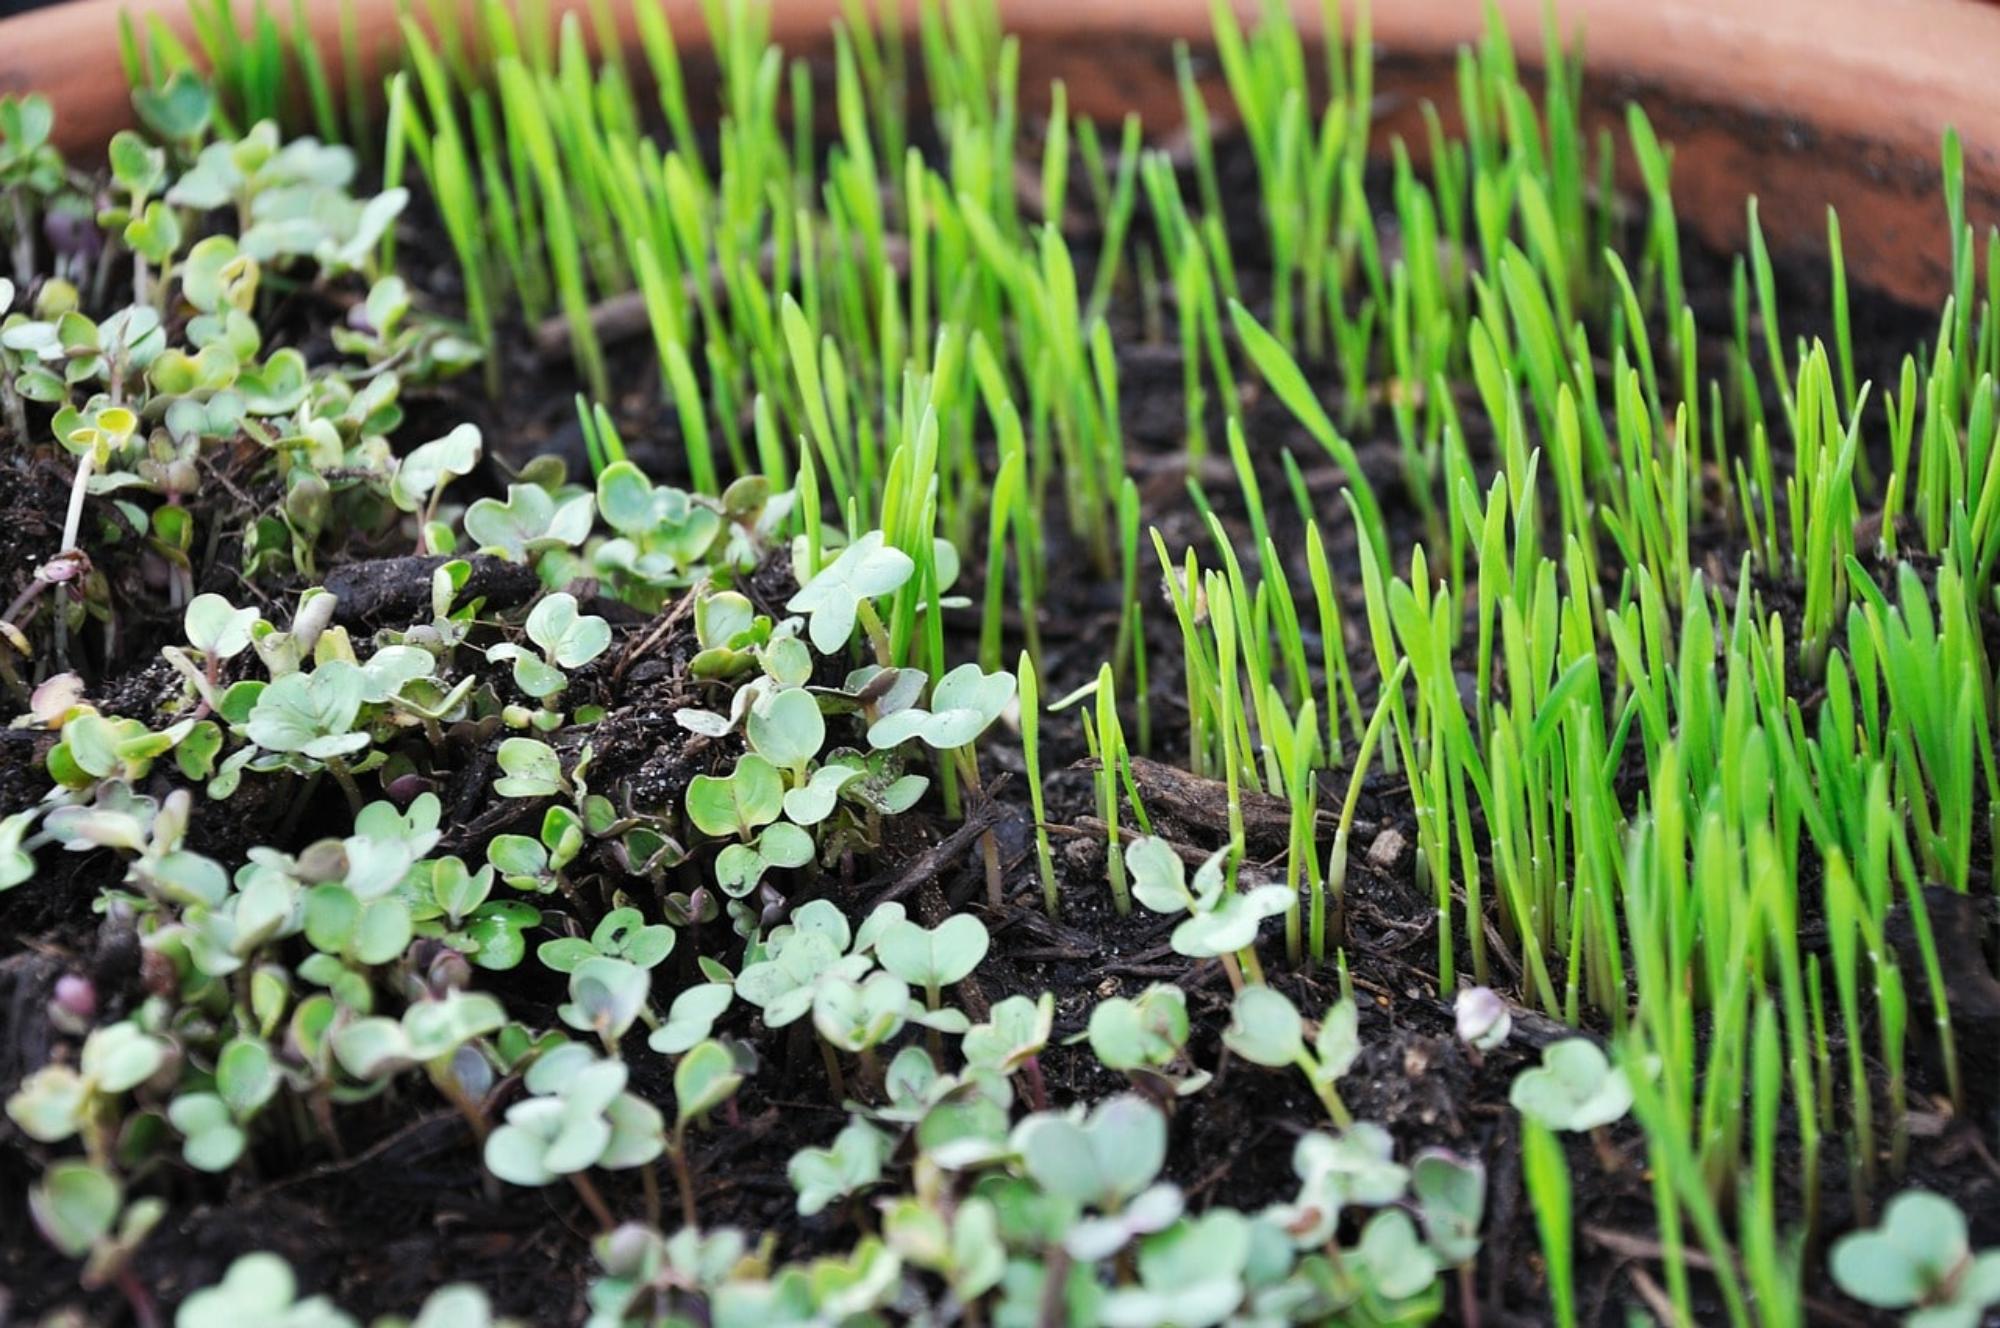 You will need a shallow container and potting soil to grow microgreens. Be sure there are drainage holes, and a tray beneath for excess water. Steps:
- Sprouts grow in water, and after rinsing, you eat the entire plant, including the roots. Microgreens are grown in soil, and you harvest the stem and leaves only.
- Sprouts are the first leaves to appear after germination (the cotyledons). Microgreens are the cotyledons and the first true leaves.
- Sprouts are ready in about 5 days, but microgreens can take 10 days to two weeks, depending on the seed planted.
Sprouts have been popular since the health-conscious 60s. I’d venture to say alfalfa seed was first used for sprouts, and with experimentation, radish and clover came along next. But of course, bean sprouts have always been a staple in Asian cuisine! These days, we sprout broccoli, sunflower, clover, peas, and kale. You can make your own combinations, or buy ready made mixes. You don’t need fancy equipment to grow sprouts. A wide-mouth jar covered with cheesecloth is the most basic set up. You can buy lids with different size holes in them for the various size seeds. Steps:
- Cover the bottom of the jar with seed, fill the jar halfway with water, and let it sit overnight.
- In the morning, put your cheesecloth or lid on top, and drain the water. Add more water, rinse the seeds, and drain it completely again.
- Turn the jar upside down in your dish drainer, or put it on its side. Be sure it is well-drained, or the seed and sprouts could rot.
- Rinse and drain 2-3 times a day. When you see the cotyledons turning green, they are ready! Rinse one last time to release the seed hulls, spin to dry, and store in an air tight container in the fridge.
You will need a shallow container and potting soil to grow microgreens. Be sure there are drainage holes, and a tray beneath for excess water. Steps:
- Sow the seed heavily, cover with a thin layer of soil, water thoroughly, and keep in a warm place. You can cover the container with plastic wrap to keep the soil moist.
- When the seed starts to germinate, bring the pot into bright light or direct sun. Make sure the soil does not dry out. Harvest when the first true leaves appear after the cotyledons.
- Cut with sharp clean scissors close to the soil. Rinse your greens, spin them to dry, and store in the fridge.
Would you like to be the first to hear about our new products and more? Sign up for our Nature’s Path Newsletter.