How to Grow Squash and Pumpkins
November signals the beginning of the holiday season, which also means it's pumpkin pie season. There's nothing like making a pie using pumpkins from your own garden! Winter squash may also grace your holiday dinner table. Plan now to add these favorites to your garden next year.
n
Tags:
November signals the beginning of the holiday season, which also means it's pumpkin pie season. There's nothing like making a pie using pumpkins from your own garden! Winter squash may also grace your holiday dinner table. Plan now to add these favorites to your garden next year.
Varieties
- Squash and pumpkin belong to a large family of plants called Cucurbits. They originated in southern Mexico, and have been domesticated in the Americas and Europe for thousands of years. Learn more about the history of cucurbits.
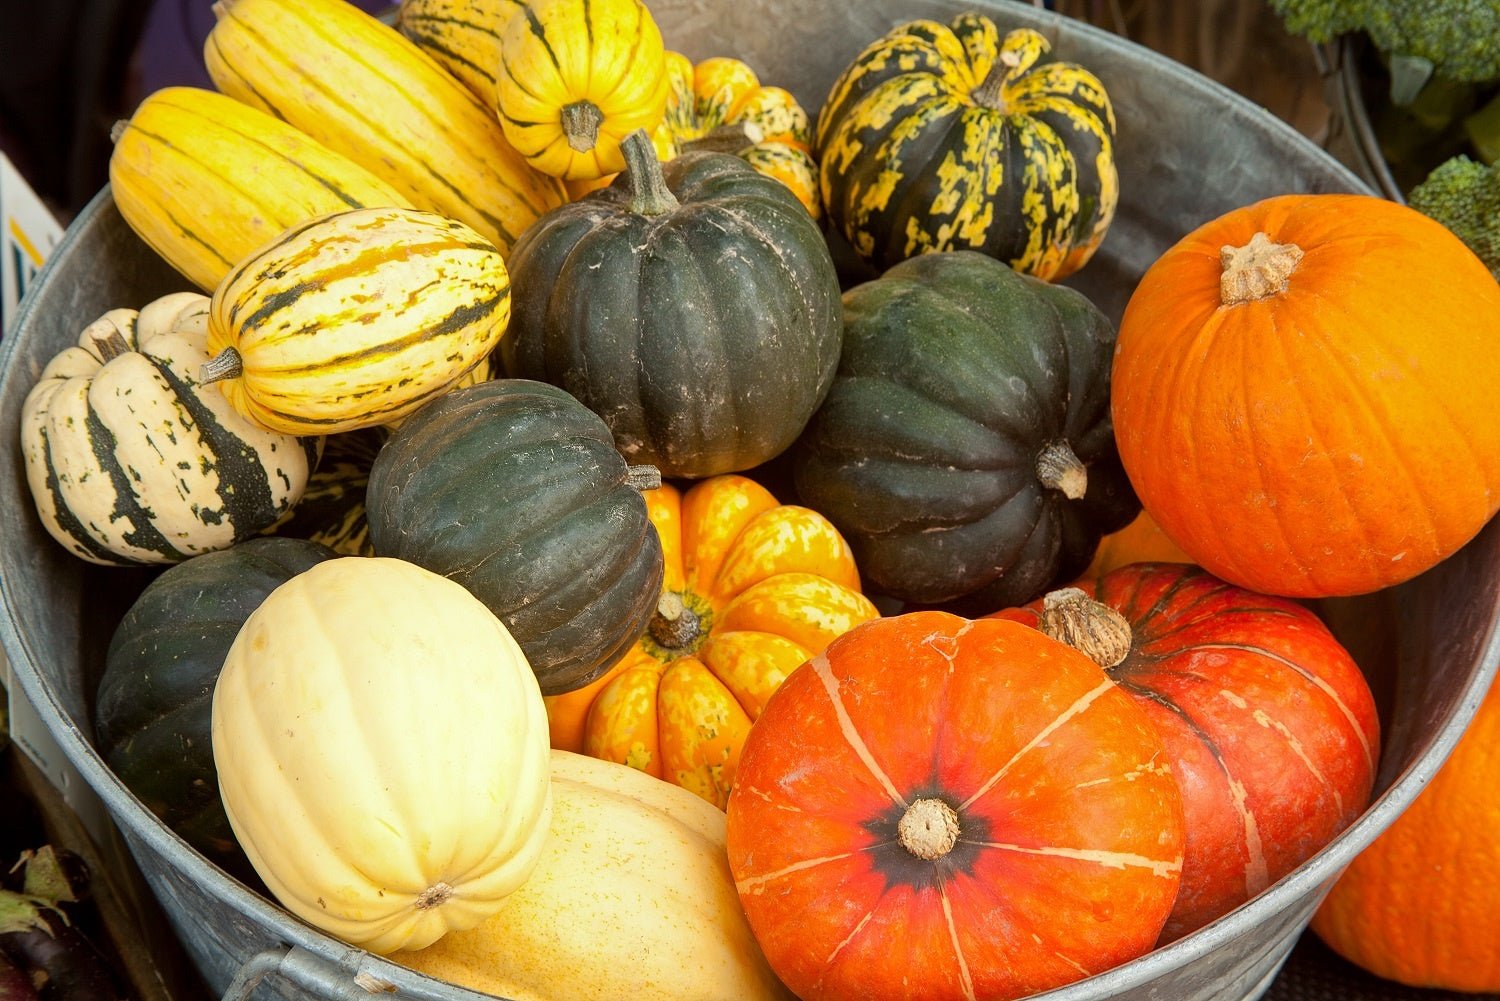
- Summer squash includes zucchini, scallop, crookneck, and straightneck. The winter squashes are butternut, buttercup, kuri, acorn, hubbard, spaghetti, and pumpkins. All need soil enriched with compost, and a long hot season to mature.
- Summer squash is ready in about 60 days, and winter squash can take 90-120 days until harvest. Choose varieties that will mature before your first frost in the fall. Some winter squashes will never ripen in my region, which has a very short frost-free season.
Growing Requirements
- Cucurbits like a slightly acidic soil with a pH of 6-6.5. Do a soil test to find out your pH and which nutrients your soil might be lacking. Add compost and other amendments as the test recommends.
- Cucurbits need about an inch of water a week. Use drip irrigation to reduce the chance of disease.
- Squash can be seeded directly into the garden after the last frost. They sprawl and will need a lot of room or sturdy trellises to climb on. Plant four seeds in hills 5-6’ apart (thin to two plants), or plant two seeds 3’ apart (thin to one plant). This is personal choice, but you may find one method works better than the other.
- If you are short on space, plant bush varieties, spaced 2’ apart. Rows should be 5-6’ apart, no matter which type you grow.
- You can also start squash indoors 2-3 weeks before the last frost. This will help you get a jump start in short season areas, and might be a must for long-season winter squashes.
- After planting, let the soil warm up for a couple of weeks before covering the soil with mulch. Squash plants create their own mulch later with their large leaves, but be sure to keep the bed weed-free.
- Give plants a mid-season side dressing of compost, and be sure the plants are getting plenty of water. Don’t let them dry out.
Pests and Disease
- Cucurbits are susceptible to squash bugs, vine borers, and cucumber beetles. Using row cover will keep them from attacking your plants. Remove the covering when the plants start flowering, so bees can pollinate them.
- Cucumber beetles may transmit bacterial wilt. Take care of the insects, and the chance of disease is lessened.
- Squash is also prone to powdery mildew. Do not use overhead watering, and be sure your plants have enough air circulation to keep the leaves dry.
- Buy varieties that are resistant to pests and diseases that are common in your area.
Harvest and Storage
- Summer squash is most tender when harvested young, 5-6” for cylindrical varieties, and 3-4” for round varieties. Store in the fridge, and use as soon as possible.
- Winter squash should be harvested when the rinds are hard and the stems have dried out. Let them cure for a few days outside, then store in an unheated room, pantry, or root cellar (ideal). Acorn squash will last about two months, buttercup about four months, and butternut and pumpkins until spring.
- You can eat from your garden for most of the year when you grow winter squashes!
Would you like to be the first to hear about our new products and more? Sign up for our Nature’s Path Newsletter.

